So in the Janaury blog I mentioned the control panel was nearing completion but that I had to figure out how to secure the panel to the actual cabinet.
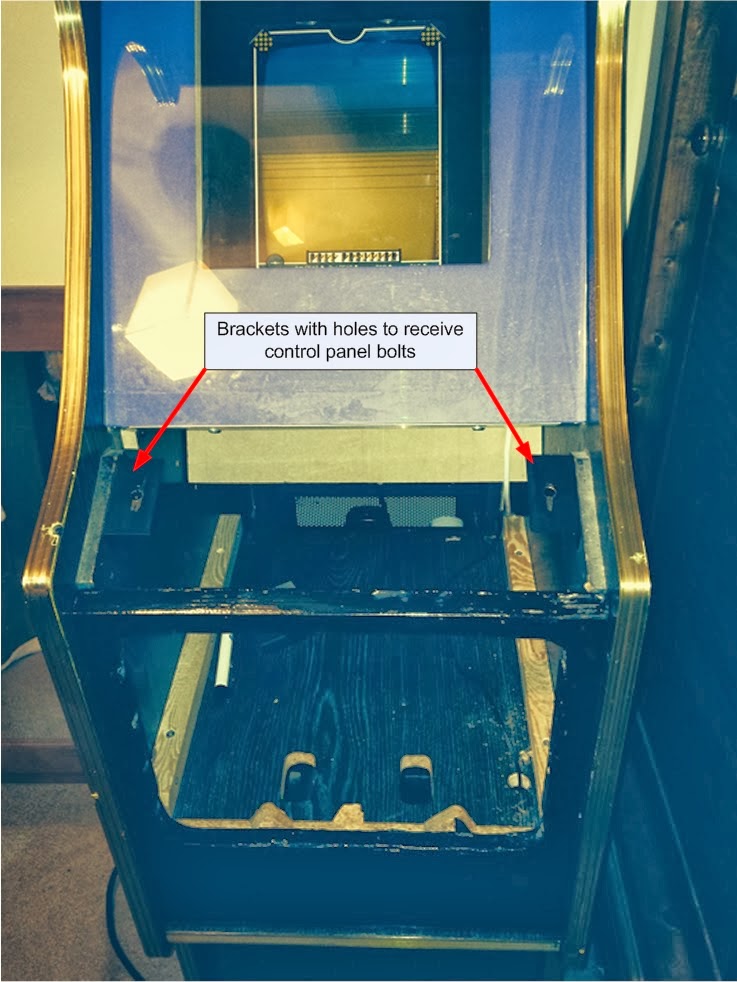
The cabinet did already provide provision for securing the control panel in the form of two angle brackets each with a hole for threading through a securing bolt. The original control panel had two bolts (with the head embedded in the panel) at either side. The control panel then fits into place with the bolts passing through the holes. Wing nuts are then screwed in place so everything is a tight fit.
I like this approach because the embedded bolts are not visible from the top of the panel, and using wing nuts mean that should it be necessary to remove the panel it can be simply done when opening the coin mechanism door.
So I used this approach for the VecCab control panel. It did require complete dissassembly of the VecCab control panel so I could add the embedded bolts. The image below shows the top side of the control panel. You can make out the two bolts at either side of the panel. The bolt heads are in countersunk holes and do not stand proud of the wooden panl surface. I added a bit of glue to the bolt heads to ensure the bolts do not move. All of this will be hidden when the final Perspex panel is on top.
The following image shows the underside of the control panel. You can see the bolts with the wing nuts. Of course the wing nuts are actually fastened to the bolts after the bolts are threaded through the angle brackets on the cabinet. You can also see a couple of black boxes I have added on the underside. One box will house the electronics which will be responsible for taking the button and joystick control signals and feeding them to the Vectrex controller port. The other box will house the electronics for proving power the lights that will be embedded in the buttons. To begin with, I will arrange for the lights to be continuiously on - but later I want to switch on and off the lights when coins have been paid - e.g. flashing buttons to act as an attract mode.
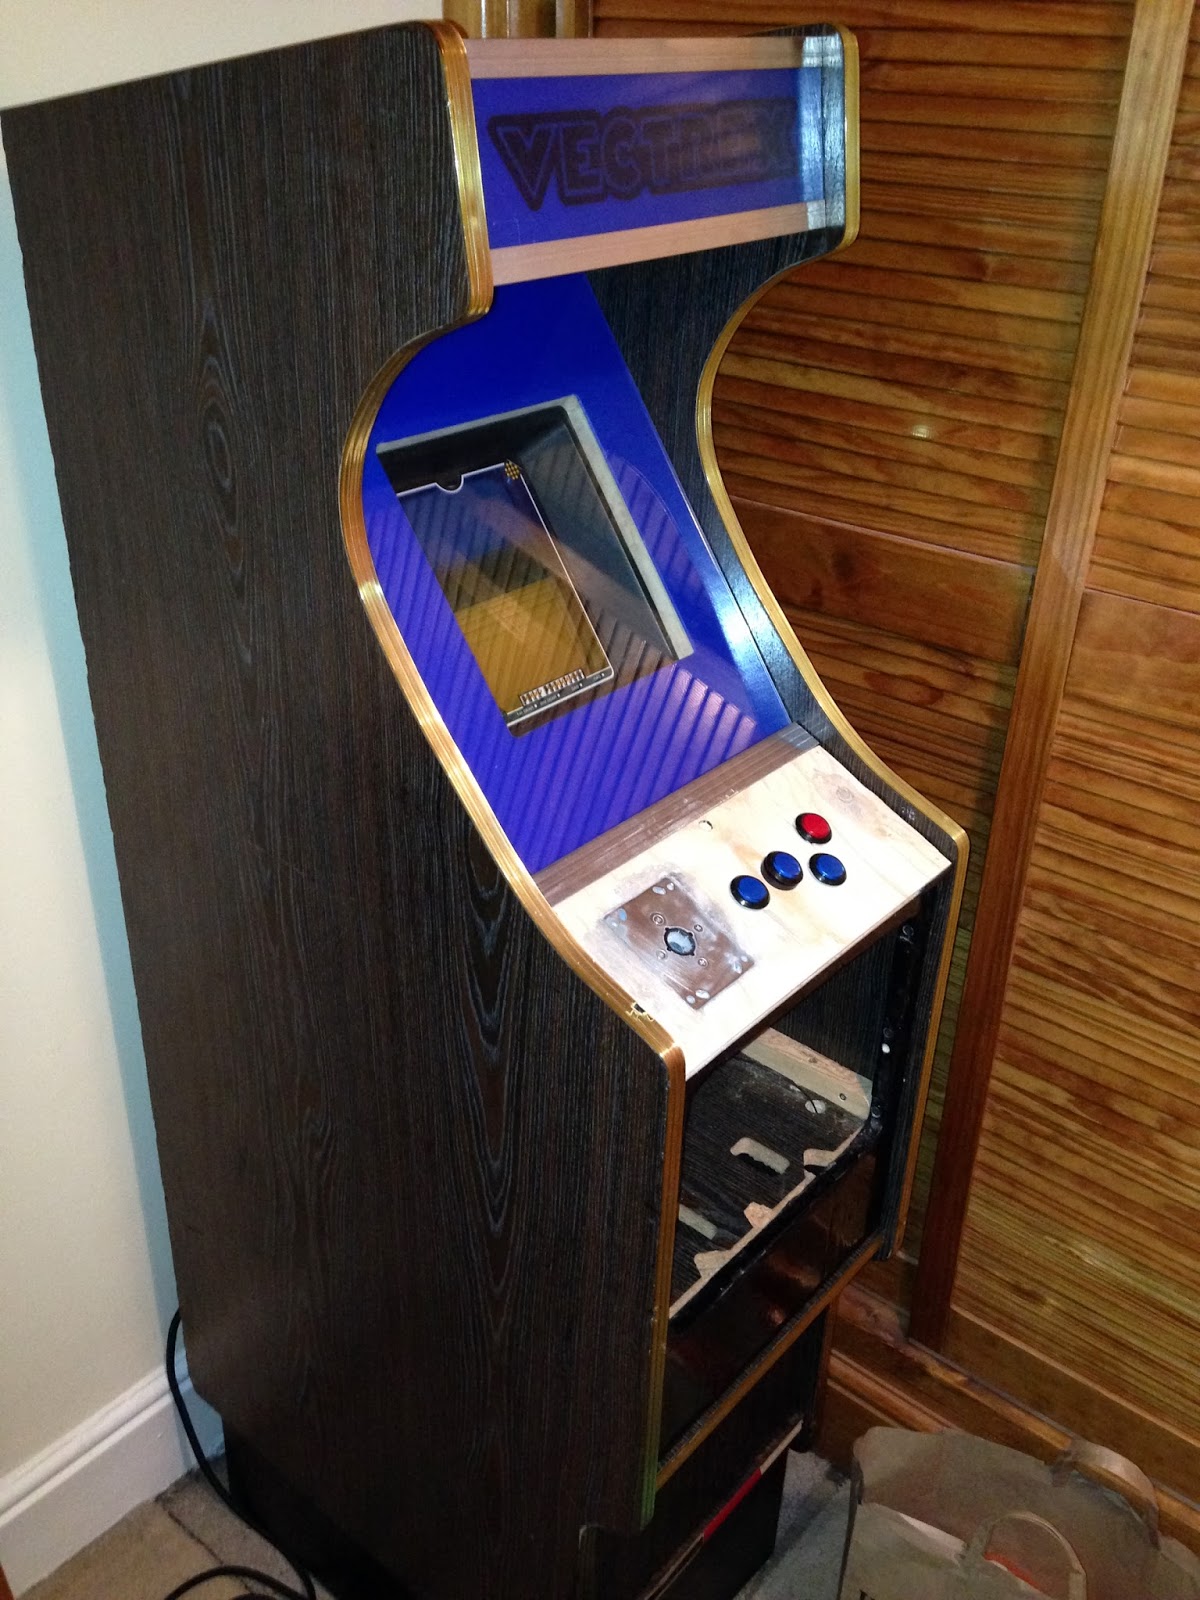
The final image shows the control panel on the VecCab and with the buttons and joystick base added.
Nearly there now, all that remains is to wire up the control panel. I'll blog this as soon as it is ready. Then after that you may not be hearing from me because I'll be playing Vectrex games via the VecCab!


No comments:
Post a Comment